
It's All About Time and Temperature
But does hot food really need to “cool down” before you put it in the fridge? The answer is a qualified “no,” with the qualification being the definition of “hot.”
Obviously, you're not going to take a casserole or something right out of a 350° oven and put it directly into the refrigerator. Condensation becomes an immediate issue, to say nothing of the risk of the thermal shock that would most likely occur should you take said 350° dish and place it directly on a 40° glass shelf, which most refrigerators have these days. Bad idea all the way around.
The other concern – that of raising the temperature inside the fridge – goes back to the days of the aforementioned ice box.
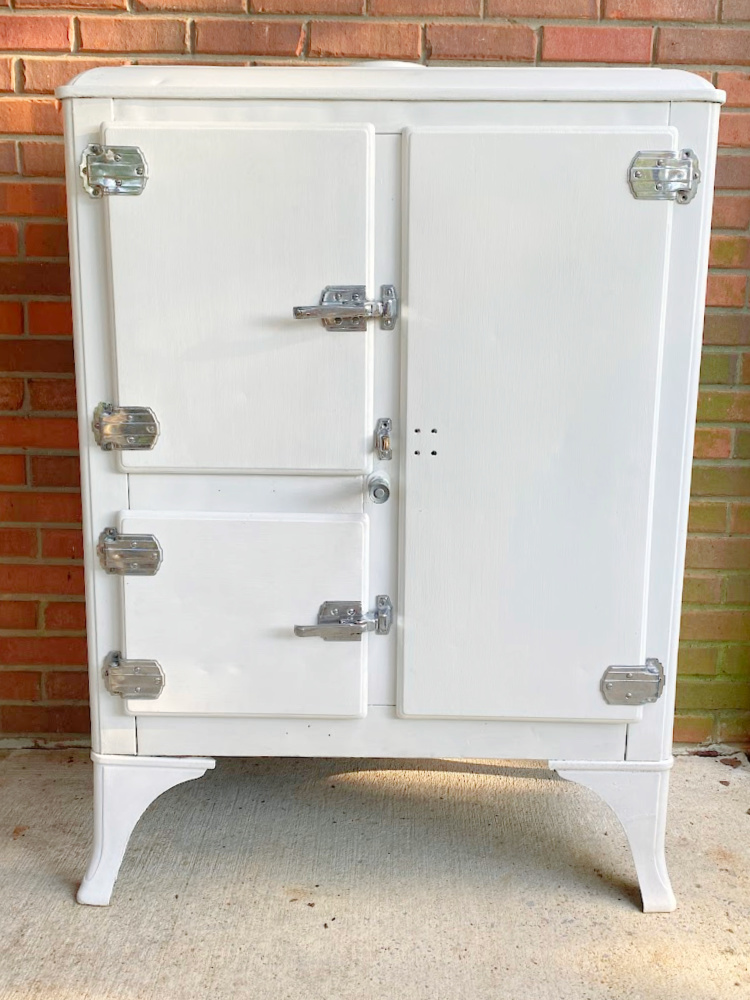
Ice boxes were just that: insulated double-walled wooden or metal boxes into which blocks of ice were inserted for the purpose of cooling food and/or beverages. The insulation consisted of straw, sawdust, cork, and sometimes even fur stuffed into hollow spaces between the walls of the boxes. Since pretty much everybody knew even then that warm air rises and cold air falls, large blocks of ice were placed in compartments located at the top of the box. The cold – well, cooler – air would sink downward, thus somewhat cooling whatever was inside the box. Of course, even well-insulated ice eventually reverts to its liquid state, so drip trays were located at the bottom of the box. These trays had to be emptied at least once a day, more often in hot climates or in hot weather.
The first commercially successful electric refrigerator came about in 1927. (An older model, introduced in 1910 and called the “Dumbbell”, failed to catch on largely because it cost $1,000 in a time when Joe Average made less than $500 a year.) Made by General Electric and called the “Monitor-Top,” it was an improvement on the old-fashioned ice box. But just barely.
Based on a concept developed by French inventor Marcel Audiffren, the Monitor-Top employed the same basic design as an ice box, except it had an electric compressor perched on top of the box instead of an ice tray. The compressor distributed coolant through a hermetically sealed system, so no more emptying drip trays. Unfortunately, early units often utilized toxic gases like sulfur dioxide, methyl formate, ammonia, or propane as coolants. And they really weren't all that cool.
If you put a fifty pound block of ice in the top compartment of an ice box, the upper portions of the box would cool to around 52 to 54 degrees, while the lowest part might get down as low as 42 to 44 degrees. The new-fangled electric models maintained about the same temperature levels. They were just more consistent about it since there wasn't any melting of the primary coolant involved. Basically, they were just big electric coolers. Freezer compartments were still a few years in the future.
And so it began: “don't put anything hot in the ice box,” as my grandmother still called it well into the 1960s, “because you'll warm up the inside of the box and everything in it will spoil.” That was true in 1925. Not so much a hundred years later.
Modern refrigerators are light years ahead of their predecessors in terms of overall design, construction, materials, compressor power, coolant, insulation …everything...and they can pretty much handle it when you stick a dish of warm leftovers inside without dramatically raising the interior temperature. Some of the newer units even have sensors built in to compensate for such changes in temperature. So go ahead and put your leftovers in the fridge while they're still a little warm. Really. It's okay.
The real issue is this: The first thing you learn in culinary school or when you open a restaurant is the “time and temperature” mantra. Boy, do they drill that one into your head! Ya gotta keep your food outta the “food danger zone.” That's the temperature range between 40°F and 140°F (some sources say 41°F to 135°F) where bacteria grow rapidly.
The FDA Food Code recommends a two-stage food cooling process. Cooked food has to be cooled from 140℉ down to 70℉ within two hours, then cooled down to 40℉ or lower in the next four hours. If the food has not reached 70℉ within two hours, you've either got to throw it out or reheat it and then cool it again. The total cooling time can't be longer than six hours or it's all just trash can fodder.
This is all especially true of what the experts and pros call “TCS Foods.” That means “time/temperature controlled for safety” food. TCS foods include meat and poultry; fish and shellfish; milk and dairy; eggs; leafy greens, and potato, rice, pasta, bean or vegetable dishes.
So don't take chances when cooling your food before you put it in the refrigerator. Basically, you've got two hours to bring the food temperature down from cooking temperature (above 140°F) to room temperature, (70°F) in order to eliminate the risk of pathogen growth. Then you've got another four hours to get it from room temperature down to 40℉ or less. The FDA also says that if you get the temp down to 70°F in less than two hours, you've still got the rest of the allotted time to get it down to 40℉.
Now, I don't think the peas are going to rise up and give you food poisoning if you leave them on the counter for a half-hour. The problem is it's really, really easy to get busy and/or distracted and forget about the stuff that you've left out to cool. And a half-hour becomes an hour and then two hours.....and that's when those innocuous little pisum sativum become little green monsters bent on wreaking digestive havoc. It's all fun and games until somebody loses track of the time.
The best thing to do is this; as soon as your peas, carrots, beans, potatoes, rice, meatloaf, baked chicken, fried fish or whatever stop being hot dishes on the table, stick 'em in the fridge. After sitting out on the table (or on the counter) while you're eating – say a half-hour to forty-five minutes – your food has probably cooled to pretty near that 70° mark. Stick a thermometer in it; you'll see. And if you really think that your refrigerator can't handle 70° food, (and it can), the USDA says you can rapidly cool it in a cold water bath before you refrigerate it.
But the best, most effective and most recommended way to rapidly cool hot food is to reduce its size. If you've got a big pot of soup or stew or a big hunk of meat or a large pile of mashed potatoes or something to deal with, portion it out into smaller containers. Spreading it out in shallow bowls or pans will help the heat dissipate more quickly. While you're working, leave the containers uncovered to reduce condensation and facilitate heat transfer. Then seal 'em up and refrigerate 'em.
Here's another cooling tip: while your food is sitting out on the counter awaiting its trip to the fridge, have it elevated on a cooling rack. The air flow all around the container will dissipate the heat faster than if you leave the bottom of the container in direct contact with the table or countertop.
And make sure your refrigerator is set no higher than 40F°. A couple of degrees cooler is even better. Better still is a refrigerator that has separate temperature zones. One of mine, for instance, has controls that allow me to set the meat drawer to a lower temperature than the main body of the fridge and to adjust the humidity in the vegetable drawer. If your fridge is warmer than 40°F, then it's really not much better than an old-fashioned ice box and all bets for food safety are off. Numbered dials inside the fridge are good but your best friend for accurate temperature control is a refrigerator thermometer. Five bucks at Walmart. C'mon! Splurge!
One more thing: try not to stack stuff in the fridge. I do it all the time until I think about it, but doing so can mess with the air flow in there and make your poor old chill-chest work harder to do its thing.
Bottom line: as long as you do it the right way, it's okay to refrigerate your leftovers while they're still a little warm. It's better than “leaving them out to cool” while you go binge watch four or five episodes of something, (“Oh! I lost track of time. I hope this stone-cold rice is still good”). And its easier than sitting there monitoring the cooling process with a thermometer, (“Nope. The mashed potatoes are still registering seventy-four-point-five degrees.”) It's easy-peasy.....or easy-rice-y or potato-y or whatever.
To refrigerate or not to refrigerate; that is the question. And now you have the answer.
